

Dewinterizing Checklist: 8 Things To Do Before You Hit The Road
Winter is an off-season for many RVers. The camper goes into winter storage and remains dormant until the weather warms up and adventure is in the air. But when you’re ready to start preparing for your next trip, there are a few things you need to do to get your RV ready for travel again.
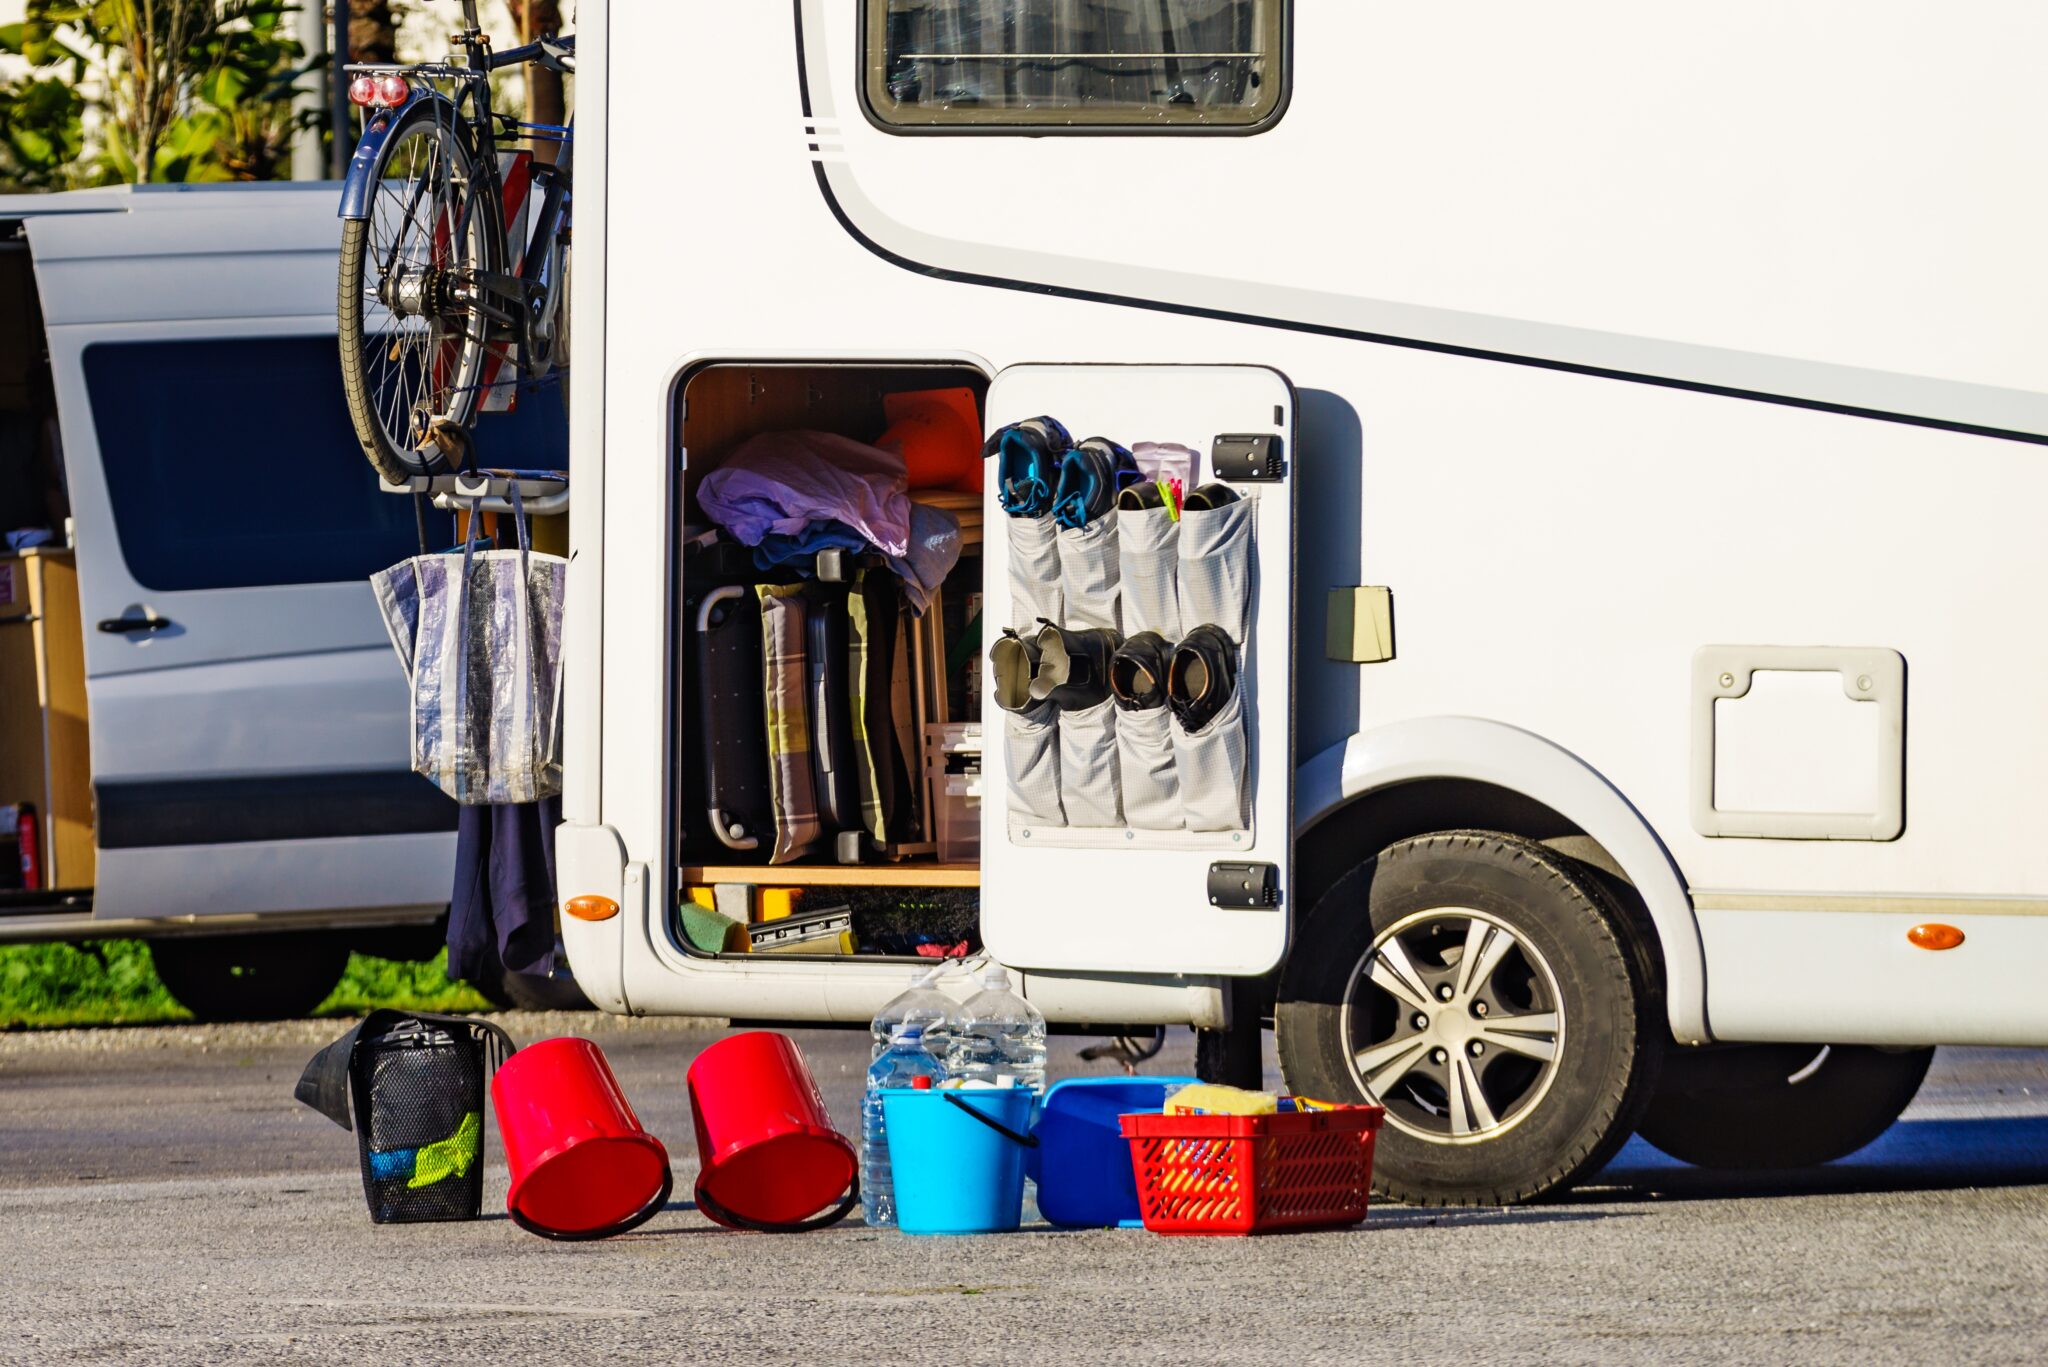
Dewinterizing an RV is fairly simple and can usually be done over the course of a day or two. This is an important time where you can perform maintenance, clean things out, and get ready for the upcoming season of travel. It’s a fresh start, so it’s important to do everything properly.
Below we have a brief overview of 8 things you should do before taking your RV out of winter storage. Doing these things will keep your vehicle in great shape and make it easier for you to hit the road when the time comes.
1. Drain antifreeze and sanitize water system
In most cases, RV water systems are filled with antifreeze before they go into storage. This prevents the pipes from freezing and bursting over the winter. But once you’re ready to take your RV out again, you don’t want to drink antifreeze-laden water.
To drain the antifreeze, begin by taking your water heater out of the bypass mode. This will help you flush the water through every part of your plumbing. Next, hook the RV up to a fresh water source and begin pumping clean water through the system. Open all the faucets in your RV, including the ones in the bathroom and kitchen. Once the water runs clear, the antifreeze is out of the system.
Now you just need to sanitize the system to get rid of any bacteria or remnants of antifreeze. To do this, add 1 cup of bleach for every 60 gallons of water. Continue to pump water through the system until you can faintly smell the bleach. Shut off all the valves and let the bleach and water mixture sit in the pipes for at least 12 hours. After this is done, you can run fresh water through the pipes again until all of the bleach has been drained.
2. Clean holding tanks
Your holding tanks were probably drained before you put the RV into winter storage. However, spring is a great time to give them a thorough cleaning!
It’s important for the fresh tank to be cleaned and sanitized, and the grey and black tanks could use a bit of attention as well. They rely on a healthy balance of bacteria and enzymes to break down waste, so you need to be careful about how you do this.
The best way is to fill the tanks 1/3 full of clean water and add an RV-safe soap to the mix. You can use Unique RV Digest-It Holding Tank Treatment or even something like Dawn dish soap. Once you have your mixture, drive the RV around and let the contents of the tank slosh around.
Next, you can use a physical tool like a spray wand or macerator to break down waste and blast buildup off the sides of the tank. Then you simply dump the contents of the tank in an approved area, refill the tanks with fresh water, and you’re good to go!
3. Check batteries in smoke detectors
When you take an RV out of winter storage, it’s probably been left unsupervised for a long time. This means that the batteries and appliances have probably died by now. As such, an important thing to do is replace batteries in your smoke detectors and carbon monoxide detectors.
These devices need to be functional 24/7 so you have an early warning about dangerous gases or fires. You can choose to simply check the charge of each one, but it is usually safer to just replace the whole set so you know they’re all at the same charge. This is a quick fix, but it’s important that you don’t overlook it!
4. Test vehicle battery
The battery of your RV itself also needs some attention. Some people choose to remove the battery entirely when they put the RV into winter storage. Others leave it in. Regardless of the method you choose, the battery needs to be checked. Since it’s been off for so long, the charge has probably run low.
Top off the distilled water if you use a lead acid battery and check the charge. If the battery is weaker than before or won’t pick up a charge, it’s probably time to consider a replacement. This can be annoying, but it’s a necessary part of RV maintenance.
5. Refill/replace tires
Tires are another victim of winter storage. When they are exposed to fluctuating temperatures, tires tend to inflate and deflate accordingly. This can stretch them out a bit, and the result is a deflated tire. Check the pressure in all of your tires and inflate them to the appropriate level.
The user’s manual for your RV should give a suggested pressure rating for your tires. Make sure you consult this guide to fill them to the correct amount.
If the tires are looking particularly worn down, it might be time to get a new set. This will give you better traction on the roads and improve your level of control.
6. Fill your propane tanks
Next up, you need to refill the propane tanks. You may have removed them altogether, so replace the tanks if this is the case. Be sure to hook them up to the appropriate propane appliances, and test each one to make sure there are no leaks.
7. Check for interior and exterior damage
Do a thorough inspection of your RV inside and out. Winter storage is usually quite peaceful, but it’s possible that rodents and other pests snuck in during this period. Water damage and mold can also creep up on you if you’re not careful! Examine the seals around each window and door, and look out for any unusual smells.
If you see any sign of pests, deal with it immediately. You may want to call in an exterminator because it can be hard to tell how much they got into.
8. Get an oil change, wash the RV, replace filters, etc.
Finally, you need to get your RV roadworthy again! Perform the simple maintenance that the RV missed during the months it was in storage. Get an oil change for your RV (or at least for the vehicle towing it). Replacing filters and refilling your windshield cleaner is also a good idea.
Last but not least, give the RV a thorough wash. Look out for any cracks in the roof or walls as you go and patch them up if necessary. Top the whole thing off with a protective layer of wax.
With that, your RV has been taken out of winter storage and is ready for a new season of adventure! Make sure you keep track of all your RV maintenance and repairs with an online tool such as Maintain My RV from RV LIFE. Not only can you keep all of your documents in one place, but you’ll also receive timely reminders when maintenance is due to help you avoid costly repairs and potentially serious accidents.
Related articles:
- 10 Things Not To Miss When Prepping Your RV For Spring
- Is Your Rig Ready For Cold Winter Storage?
- 5 RV Storage Problems & How To Fix Them
The post 8 Things To Do Before Taking Your RV Out Of Winter Storage appeared first on RV LIFE.