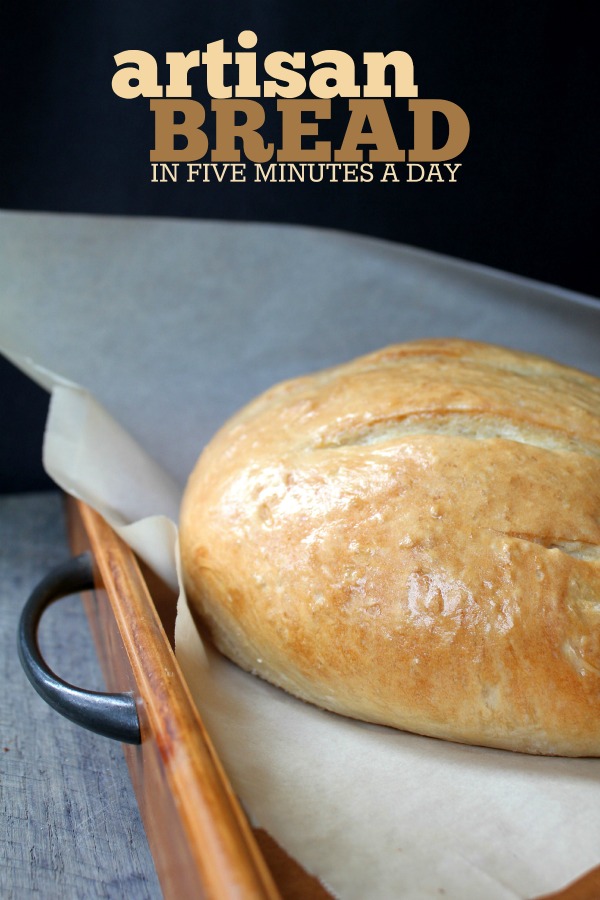
Artisan Bread
30 Days to… 5 Keys for… 7 Steps to… I’ve never been interested in gimmicky fads. So when Artisan Bread in Five Minutes a Day: The Discovery That Revolutionizes Home Baking (Amazon) came along back in 2007, I didn’t pay much attention. After hearing about it everywhere I turned though, I finally borrowed a copy of the book.
I flipped through it, tried the master recipe, and was hooked. If you have baked bread using these steps, you know how brilliant and simple it is. If baking with yeast makes you nervous, this method is a great place to start. Just think, this could be the year you finally conquer baking a loaf of yeast bread from scratch!
Here’s the basic idea: You use four ingredients: yeast, salt, water, and flour. You mix the dough by hand. You store the dough in the fridge in a big container. You bake fresh loaves as needed. The “five minutes a day” refers to the time it takes to shape the refrigerated dough into a loaf and turn on the oven. The rest of the “work” is just letting the loaf rise on the counter and bake in the oven.
I whipped out my calculator and figured that I am making 3 medium-sized loaves of high-quality bread for less than 70 cents. Total. That’s a measly 23¢ a loaf. You won’t be able to beat that price anywhere. Oh, and the smell of fresh baking bread filling your home combined with the satisfaction of knowing you baked it yourself? Priceless.
I have broken the steps into bite-sized pieces. Follow along, and you will soon be cranking out hot loaves of bread from your own oven. I promise, this is easy! What do you have to lose? Five minutes and seventy cents?
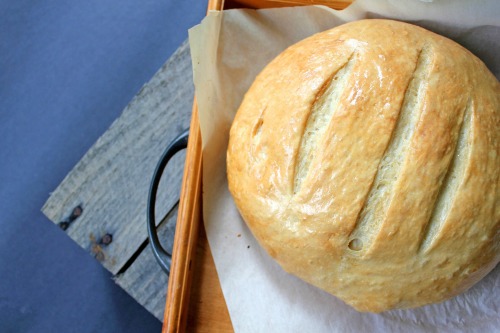
Easy Artisan Bread
Yield : 3 loaves
Recipe from Artisan Bread in Five Minutes a Day (Amazon)
Ingredients
3 c. lukewarm water
1 1/2 T. active, dry yeast
1 1/2 T. coarse or kosher salt or 1 T. regular salt (less, if desired)
6 1/2 c. all-purpose flour (or a combo of white & whole wheat)
Visual learner? Check out the video and directions below:
First, dump all 4 ingredients into a large container. I use a 22-cup lidded Rubbermaid container for my dough. It fits neatly & easily in the fridge. The official recipe directs you to punch a small hole in your container lid (Amazon) to allow the gases from the yeast to escape. I’ve never done this and still get great results so there must be enough gaps around the lid to keep the yeast happy. If your container’s lid fits more snugly, you might need to add a small hole.
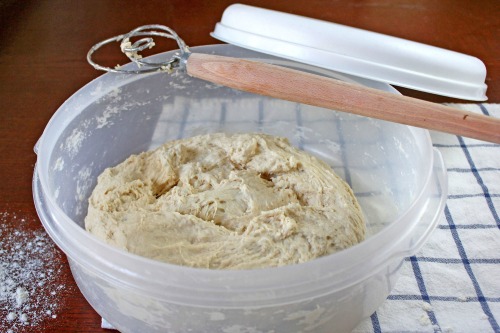
Using a wooden spoon or this amazing Danish Dough Hook, mix the ingredients until the flour is well incorporated. You don’t need to knead the dough or do anything fancy. It will be a wet, shaggy mess, and that is perfect.
Place the lid on the container and leave it in a warm place for about two hours to rise.
Are you still with me? I told you this was easy!
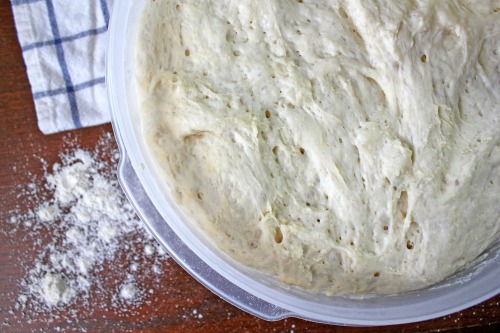
At the end of the rise time, your dough will magically fill the container. It will be flat on top and filled with air bubbles. At this point, you can put the lid back on and stick the container in the fridge to use later. I’d recommend using the dough within 1-3 days as the longer it stays in the fridge, the yeastier it tastes.
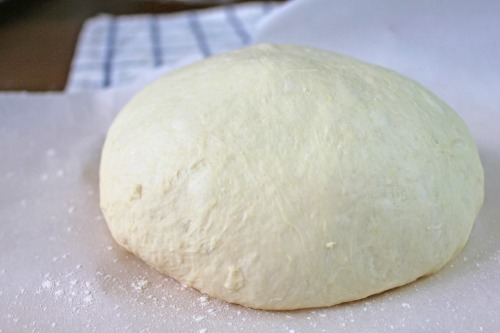
I usually form one loaf right away and save the rest of the dough in the refrigerator for later.
Sometimes, I form and bake all three loaves at the same time, serving one right away and wrapping two in foil and freezing them in large Ziploc bags. When I’m ready to serve the frozen ones, I pop the foil wrapped loaves straight from the freezer into a hot oven.
Follow these directions for all 3 loaves: Use a sharp knife and well-floured hands (the dough will be wet & sticky) to stretch and cut off a ball of dough about the size of a large grapefruit or small cantaloupe. Keeping your hands floured, shape the dough into a smooth ball. I just keep working the dough around the edges and tuck it under the ball until it is smooth. Don’t worry if it’s not perfect. Any rough spots will just add to the rustic look.
Place the dough ball on a pizza peel or parchment paper dusted lightly with flour or cornmeal. I usually use a pizza peel & cornmeal because then I can slide a formed, risen loaf right onto a hot baking sheet or stone, making the crust nice and crisp.
If you’re just getting started, use parchment paper and a baking sheet. It’s easy, and your loaves will still turn out beautifully.
Let the dough rest for at least 40 minutes (I usually let loaves rest a bit longer if they start cold from the fridge). The dough will spread a bit, but it won’t rise substantially. That’s okay; it’ll do most of its rising in the oven.
While the dough is resting, crank the oven up to 450 degrees. If you have a baking stone, place that in the cold oven to preheat as well. Add a small dish of water to the lower rack to create steam in the oven. I use a stoneware pie plate or a metal cake pan.
Don’t put a cold stone or glass dish into a hot oven as they will shatter. Yep, I’ve been there, done that with both. After shattering my baking stone, I borrowed a friend’s cast iron pizza pan and loved it. That thing weighs a ton and is indestructible. It’s definitely worth the investment if you do lots of baking.
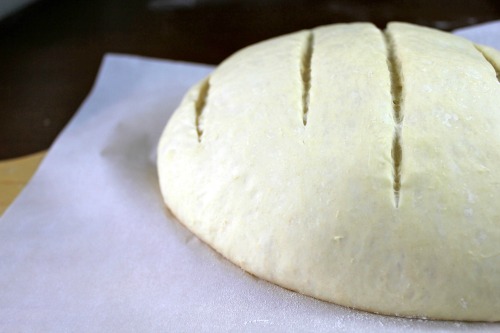
Using a serrated knife slash the loaf, about 1/4″ deep, several times across the top. If you are using a baking stone, slide the loaf onto the preheated stone. If not, simply slide the parchment paper directly onto the rack or a baking sheet. If needed, add more hot water to the dish.
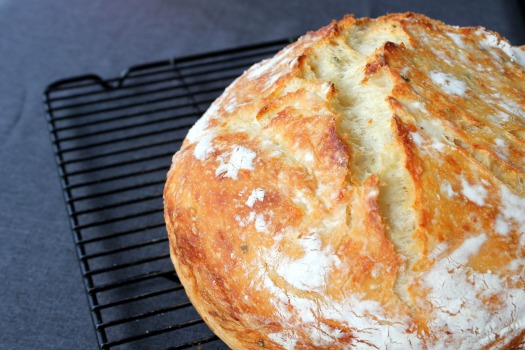
Bake the bread for 30-35 minutes. This is actually the trickiest part of the whole process for me. The biggest mistake I make is taking the bread out too early, resulting in a doughy interior. The exterior should be a golden brown, and the loaf should sound hollow when tapped with your knuckle (For this and any other FAQ, go here). If you used parchment paper, you can remove the paper after 20-25 minutes to bake the bottom crust better.
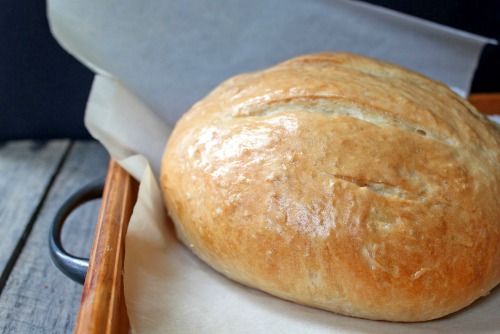
The crust and crumb of this bread turns out slightly different almost every time I bake it, but it is always delicious.
Place the loaf on a baking rack to cool completely before slicing with a sharp bread knife. Store the loaf on the counter as the crust will get soft if you put it in a plastic storage bag.
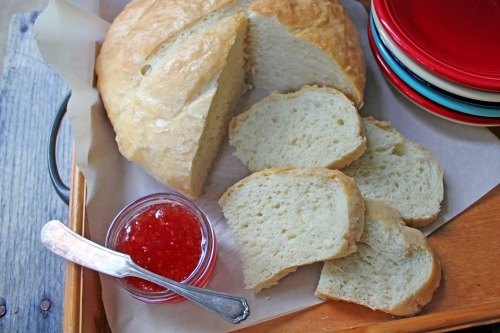
This master dough recipe can be shaped in a bunch of different ways. It also makes great sandwich rolls, pizza crust, and grilled flatbread. Once you have the hang of it, start experimenting. With confidence will come creativity.
You can also check out the companion book, Healthy Bread in Five Minutes a Day for more baking inspiration.
While you’re at it, check out the amazing No-Knead Bread recipe. You’ll never buy bread at the store again!
Looking for delicious soup recipes to pair with your bread?
Looking for more homemade swaps you can make in the kitchen?
Find more delicious recipes on our Recipe Page!
Follow Frugal Living NW on Pinterest!
Fantastic range of boards from best recipes and tips for frugal living to gardening and budgeting help.
The post Making artisan (yeast) bread from scratch appeared first on Frugal Living NW.

